
I. Introduction
Wondering how to wrap a plush toy for a perfect gift presentation in 2024? When it comes to wrapping a plush toy, it’s important to pay attention to the details, as it can elevate the joy of the recipient. In this blog post, we will discuss the importance of presenting gifts with thought and care, as well as the steps involved in preparing and wrapping a plush toy.
II. Preparing the Plush Toy
A. Choosing the Right Plush Toy
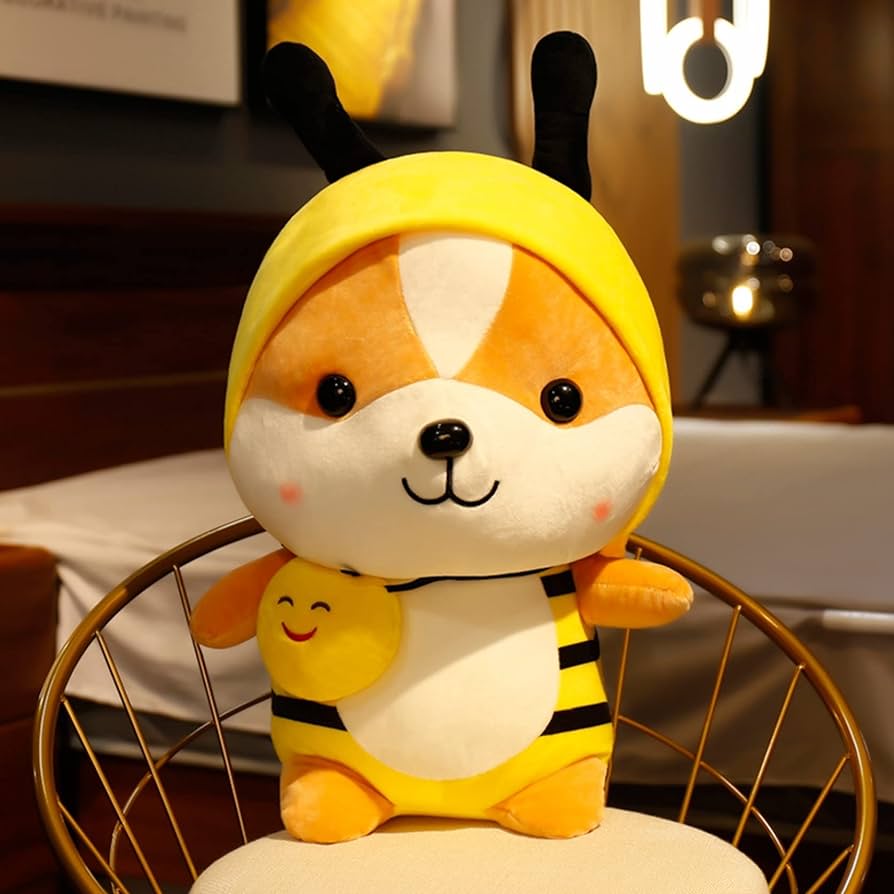
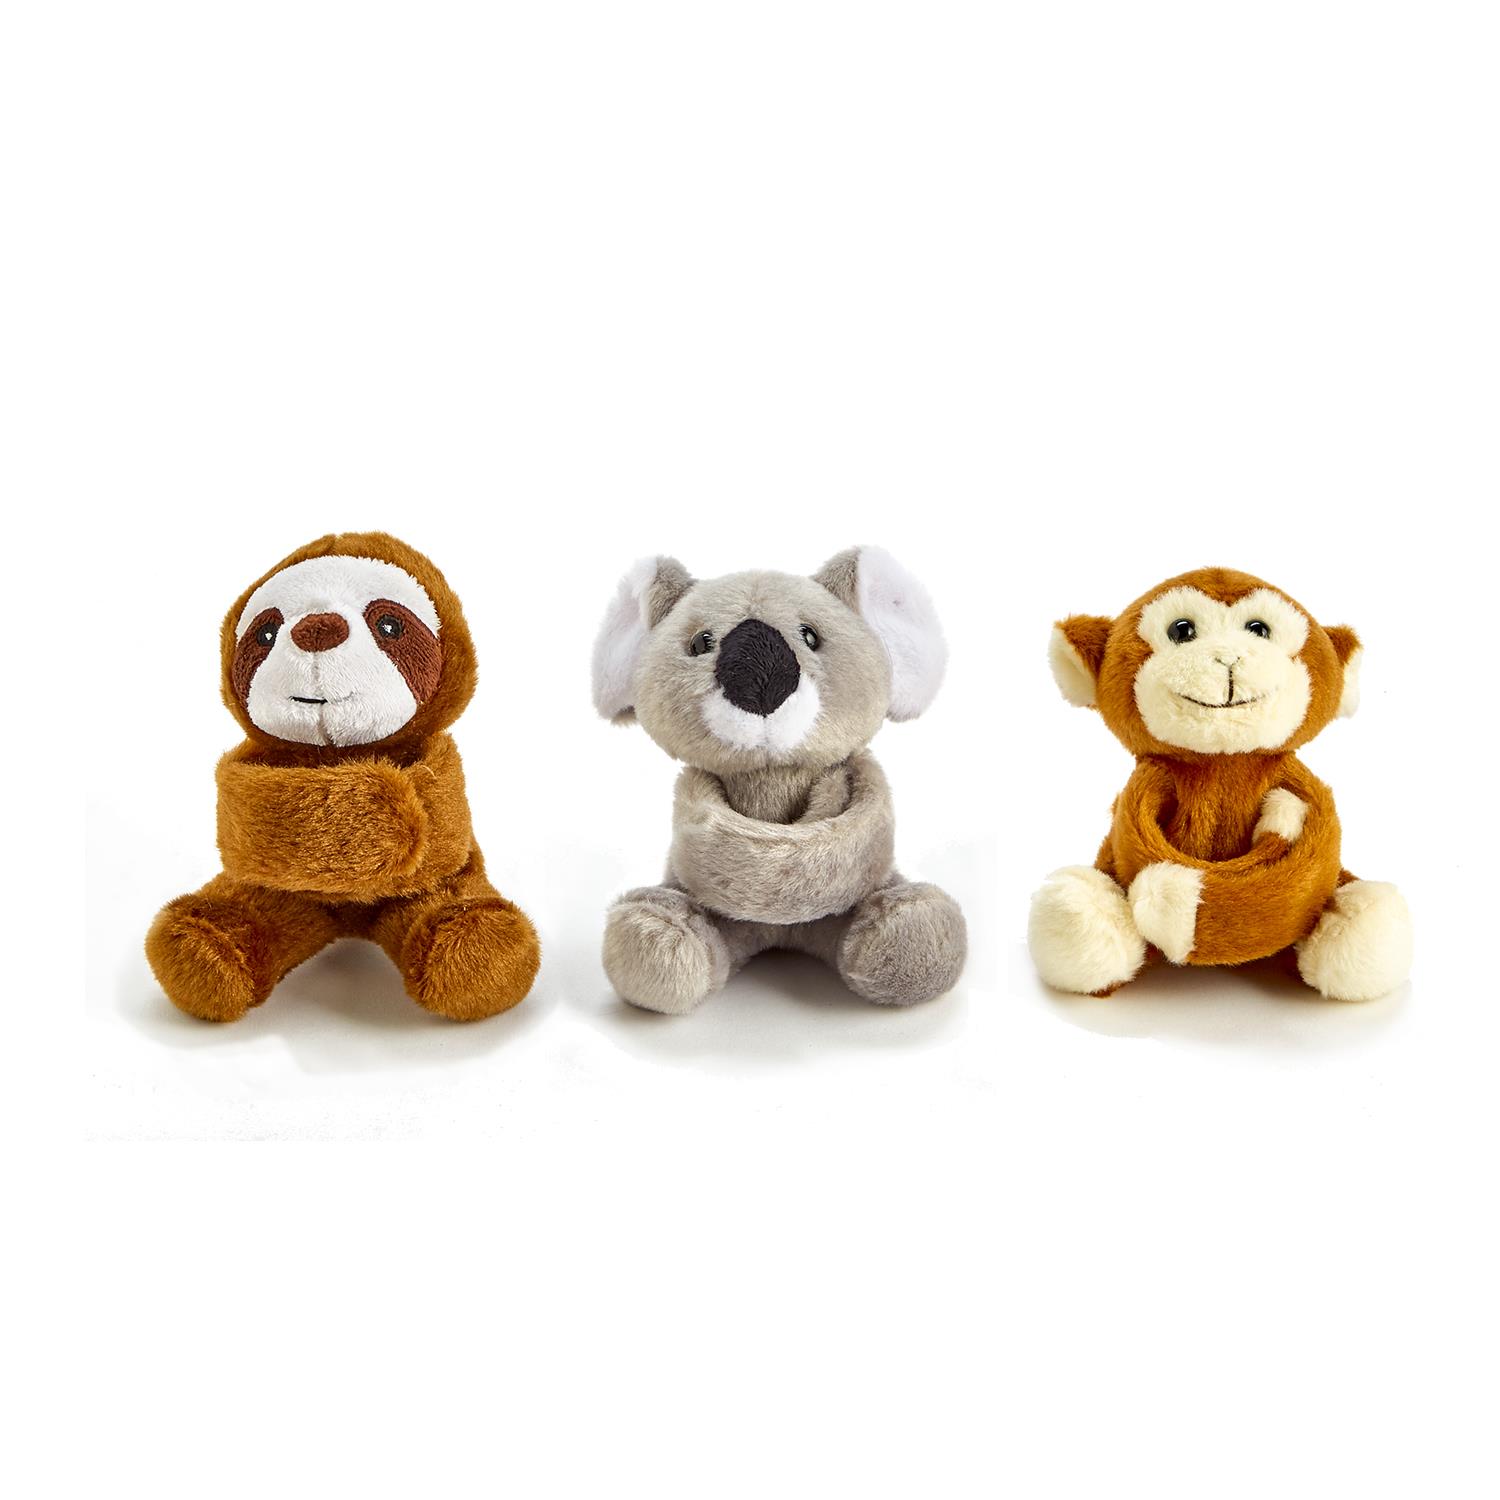
Before starting the wrapping process, it’s essential to select the perfect plush toy for the occasion and the recipient’s preferences. Consider the recipient’s age, personality, and interests when choosing the plush toy. For example, if the recipient is a child who loves animals, a cute teddy bear or a soft bunny might be the ideal choice.
B. Cleaning and Preparing the Plush Toy
Once you have chosen the plush toy, inspect it for any dirt or stains. It’s important to present a clean and fresh gift. If you notice any spots, gently Safely Wash or spot-clean the plush toy according to the manufacturer’s instructions. After cleaning, make sure to dry the plush toy thoroughly to avoid any musty smell or potential damage.
III. Gathering Materials
A. Wrapping Paper
Choose a wrapping paper that suits the occasion and the recipient’s taste. Consider using different patterns or colors to add visual interest. If the occasion is specific, such as a birthday or a holiday, you can opt for themed wrapping paper to add a festive touch.
B. Scissors and Tape
Ensure you have a pair of sharp scissors for easy and precise cutting. It’s essential to have seamless tape on hand to achieve a neat and seamless finish.
C. Additional Decorative Elements
To personalize the gift, consider adding decorative elements such as ribbons, bows, or tags. Choose ribbons or bows that complement the wrapping paper or reflect the recipient’s favorite colors or themes. Adding a handwritten gift tag can also add a personal touch and make the recipient feel extra special.
IV. Wrapping Techniques
A. Basic Wrapping Method
When it comes to wrapping a plush toy, the basic wrapping method is a simple and effective way to enclose the gift securely. Follow these steps for a neat and presentable result:
- Place the Plush Toy: Start by laying the plush toy in the center of the wrapping paper. Ensure that the toy is positioned properly and facing the desired direction.
- Fold the Sides: Take one side of the wrapping paper and fold it over the plush toy. Hold it securely in place.
- Secure with Tape: Use clear tape to secure the folded side of the wrapping paper. Make sure the tape is hidden underneath the plush toy for a seamless appearance.
- Repeat on the Other Side: Repeat the process with the opposite side of the wrapping paper. Fold it over the plush toy and secure it with tape.
B. Creative Wrapping Ideas
- Gift Basket Approach
For a more elaborate presentation, consider the gift basket approach. This adds an extra touch of elegance and allows you to include additional items to complement the plush toy. Follow these steps:
- Select a Decorative Gift Basket: Choose a gift basket that matches the occasion and the recipient’s preferences. Opt for a size that comfortably accommodates the plush toy and any additional items.
- Prepare the Basket: Line the gift basket with decorative tissue paper or fabric. This adds a layer of cushioning and enhances the overall presentation.
- Place the Plush Toy: Position the plush toy in the center of the gift basket, making sure it is prominently displayed.
- Add Complementary Items: To enhance the gift, consider adding small accessories or treats such as chocolates. Arrange these items around the plush toy to create an appealing visual arrangement.
- Gift Box Presentation
Another creative and polished option is to present the plush toy in a decorative gift box. This adds an element of surprise and allows for a larger wrapping area. Here’s how you can do it:
- Choose a Decorative Gift Box: Select a sturdy and visually appealing gift box that is large enough to accommodate the plush toy.
- Wrap the Gift Box: Wrap the gift box with coordinating wrapping paper, just as you would with the basic wrapping method. Ensure that the paper is neatly folded and secured with tape.
- Place the Plush Toy: Open the gift box and carefully position the plush toy inside. Make sure it is centered and sits comfortably in the box.
- Close and Secure the Gift Box: Close the gift box, ensuring a snug fit. If necessary, use tape or a decorative sticker to secure the box lid.
V. Finishing Touches
A. Tying a Ribbon or Bow
Adding a ribbon or bow is a simple yet effective way to enhance the overall look of the wrapped plush toy. Follow these steps:
- Select a Complementary Ribbon: Choose a ribbon that complements the wrapping paper or the theme of the gift. Ensure that it is long enough to wrap around the plush toy and tie a bow.
- Securely Wrap the Ribbon: Take the ribbon and wrap it around the wrapped plush toy, making sure it is centered. Cross the ribbon ends over each other and bring them to the front.
- Tie a Secure Bow: Form a basic bow by tying a knot with the ribbon ends. Adjust the loops and tails of the bow to achieve the desired shape and fullness.
B. Attaching a Personalized Gift Tag
Adding a personalized gift tag allows you to convey a heartfelt message to the recipient. For example, you can create a cartoonishly labeled and beautifully packaged stuffed animal that every children will be happy to receive. Here’s how you can do it:
- Select a Gift Tag: Choose a gift tag that matches the overall aesthetic of the gift. It can be a premade tag or a DIY tag made from cardstock or decorative paper.
- Write a Thoughtful Message: Take a pen or marker and write a personalized message on the gift tag. This can be a simple “Happy Birthday” or a heartfelt note.
- Attach the Gift Tag: Securely attach the gift tag to the ribbon or bow using a small piece of adhesive or ribbon. Ensure that the tag is easily visible and does not obstruct the plush toy.
The cost of wrapping a plush toy
The cost of wrapping a plush toy can vary depending on several factors such as the materials used and whether you choose to wrap it yourself or use a professional service. Here’s a general breakdown to give you an idea:
-
Wrapping Paper: High-quality, decorative wrapping paper typically costs between $3 to $10 per roll. For a single plush toy, you’ll likely need just a small portion of a roll, so the cost might be around $1 to $2.
- Tissue Paper: A pack of tissue paper costs around $2 to $4, and you’ll use just a few sheets, so expect to spend around $1.
- Gift Bag: If you opt for a gift bag instead of wrapping paper, a medium-sized gift bag usually costs between $2 to $5.
- Ribbon and Bow: Adding a ribbon or a bow can range from $1 to $5 depending on the quality and style.
- Tape: A roll of tape costs about $1 to $2, and you’ll use a minimal amount, so the cost is negligible.
- Professional Wrapping Service: If you prefer to have the plush toy wrapped professionally, expect to pay between $5 to $15, depending on the store and the complexity of the wrap.
In summary, if you choose to wrap a plush toy yourself, the total cost would likely range from $3 to $10. If you opt for professional wrapping, the cost could go up to $15.
Storage Conditions
- Temperature and Humidity: Store the wrapped plush toy in a cool, dry place. High humidity can lead to mold and mildew, while extreme temperatures can degrade the materials.
- Avoid Sunlight: Prolonged exposure to direct sunlight can cause the colors of both the plush toy and the wrapping paper to fade.
- Dust Protection: To protect from dust, you might want to place the wrapped toy inside a plastic container or a sealed plastic bag.
Materials Used
- Quality Wrapping: Using high-quality wrapping materials like acid-free paper can prevent discoloration and deterioration of the toy’s fabric.
- Additional Protection: Adding a layer of tissue paper can provide extra protection against potential damages.
Pest Control
- Insects and Rodents: Ensure the storage area is free of pests, which can damage the toy.
Duration
- Short-Term Storage (Up to 1 Year): If stored properly, a wrapped plush toy can stay in pristine condition for several months to a year without any concerns.
- Long-Term Storage (Several Years): For long-term storage, make sure to check the toy periodically for any signs of deterioration. Given optimal conditions, a wrapped plush toy can last for many years, potentially even decades.
By following these guidelines, you can ensure that your wrapped plush toy remains in excellent condition, capable of bringing joy whenever it’s finally unwrapped.
VI. Conclusion
Understanding how to wrap a plush toy can make the gift even more special. Whether using the basic wrapping method or opting for more creative ideas like a gift basket or a gift box presentation, the wrapping techniques discussed in this article will help you achieve a beautifully wrapped plush toy. Don’t forget the finishing touches of a ribbon or bow and a personalized gift tag to add that extra touch. Enjoy the joy of giving as you present your perfectly wrapped plush toy to your loved ones!


